What is a database
Databases are the third tier in the Gridly CMS organizational structure. Databases sit within Projects, and a database can contain one or many Grids.
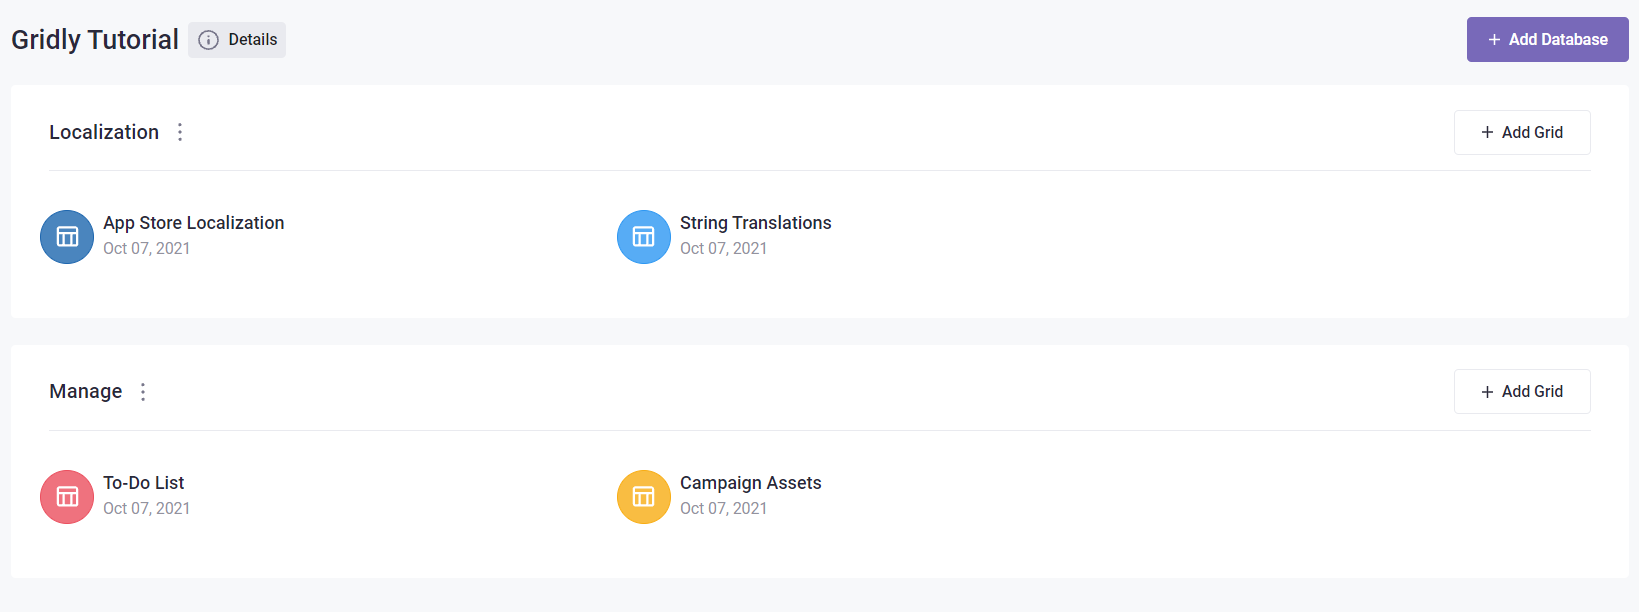
Each database serves as a container, helping you organize your data into different categories for different purposes. In the screenshot below, there are two databases in project "Gridly Tutorial": database Localization which is used to manage localizing, and database Manage for management.

Add a new database
To add a new database, click on the + Add Database icon in the top right of the project area.

A new database will be inserted at the top of the project area. Enter a Database name and press Enter.

To rename a Database, click the menu icon to the right of the Database name, and enter a new name in the grey box.
Access control for database
If a team member has access to a database, they can access all the Grids inside it. To control which user groups can access a database:
- Click
 next to database name.
 - Select Share to group.
- Choose with groups you want to share the database to.
- Click Share.

Back up database
Refer to this article: Back up Database.
Create new branches for Grids inside a database
You can quickly create new branches for multiple Grids inside a database:
- Clicknext to database name.
- Select Create multiple branches.
- Configure these options:
- Select Grids: Select the Grids in the database for which you want to create new branches.
- Select branch: Select the original branch you want to branch off from. If there are more than 2 Grids, make sure the their original branches have the same name.
- Enter the branch name to create
- Include shared groups: Select this checkbox to share the new branch to the same user groups as the original branch.
- Include automations: Select this checkbox to include the Automations from the original branch in the new branch.
- Click Create.

Database settings
- Clicknext to database name.
- Select Settings.
- Here you can configure these settings:
-
General tab:
- Database name
- Check the uniqueness of record IDs: Toggle this on to prevent duplicated Record IDs across all the Grids under the database. This can only be toggled on when the database is empty with no Grids inside.

-
Localization setting tab: Settings here will override Project settings. These settings will be applied for all the Grids inside the database.
- Localization setup:
- Master TM: Select the Translation Memory (TM) to be used as the Master TM.
- Reference TMs: Select one or multiple Translation Memory to be used as reference, meaning you can't add new entries to these TMs.
- Use working TM: Select this to use Working TM.
- Auto ingest new translation text: Select this if you want to automatically add new translation to the Master TM. If no TMs are selected, translations will be stored in the default TM.
- Translation status of target cell: Select a translation status for target cell after fetching from TM.
- Glossary and Non-translatable: Select the Glossaries and Non-translatable list for the database.

- Localization setup:
-
General tab:
- Quality assurance tab: Select QA models. These settings will be applied for all the Grids inside the database.
