This feature is available in both the CMS and TMS modules.
A PO file is made up of many entries, each entry holding the relation between an original untranslated string and its corresponding translation. All entries in a given PO file usually pertain to a single project, and all translations are expressed in a single target language.
CMS module
In the CMS module, you can create a Grid by importing a PO file.
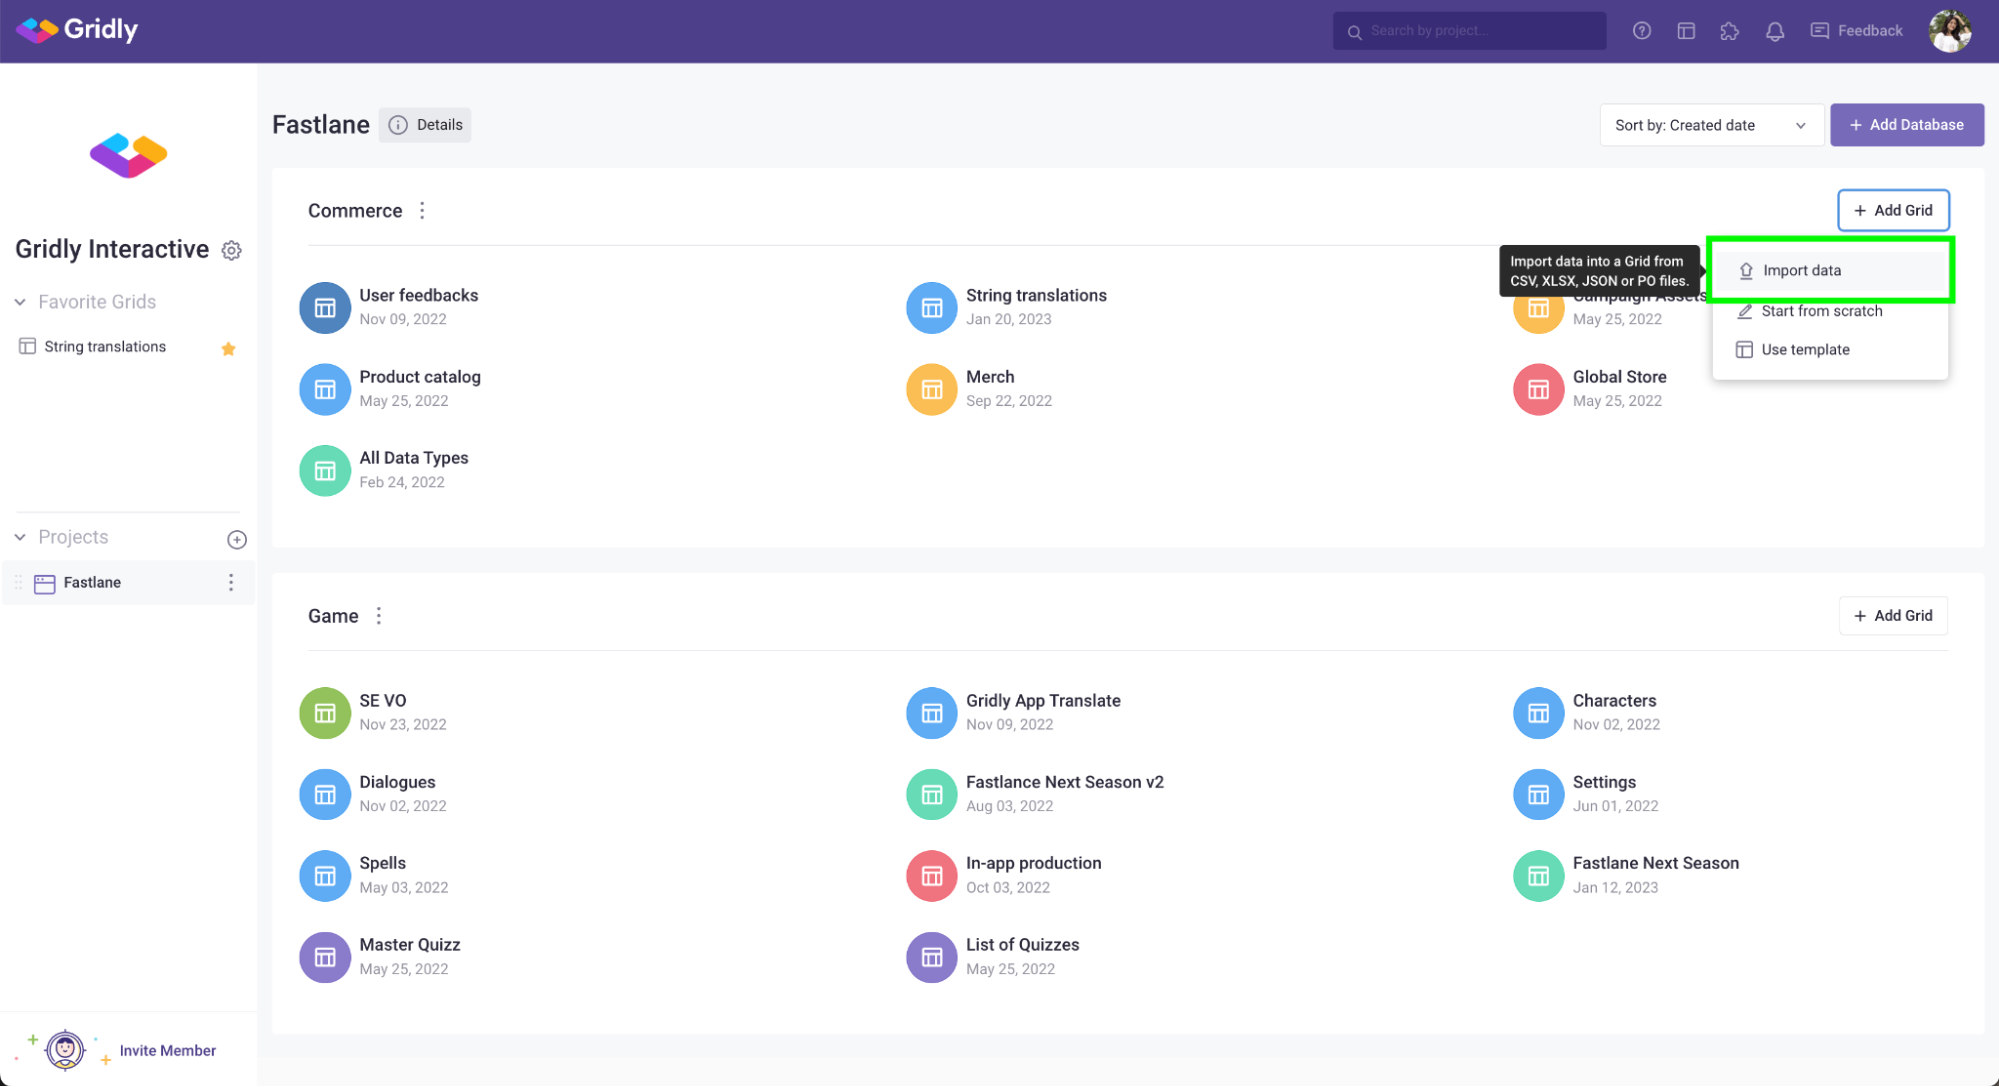
- On the project page, click + Add Grid.
- Select Import data from the dropdown menu.
- Add the PO file you want to import to Gridly.
- Name your Grid, select source language and target languages. You can click Show preview to check if the file is imported correctly.
- Select message key (optional): this will be mapped to the record ID column, so you are able to export the PO files and re-import with updated strings. If you do not have a message key in your file, Gridly will auto generate the Record ID.
- Extracted comments (optional): this section appears when Gridly detects comment keys in PO file. If selected, each key will map to its own separate column.
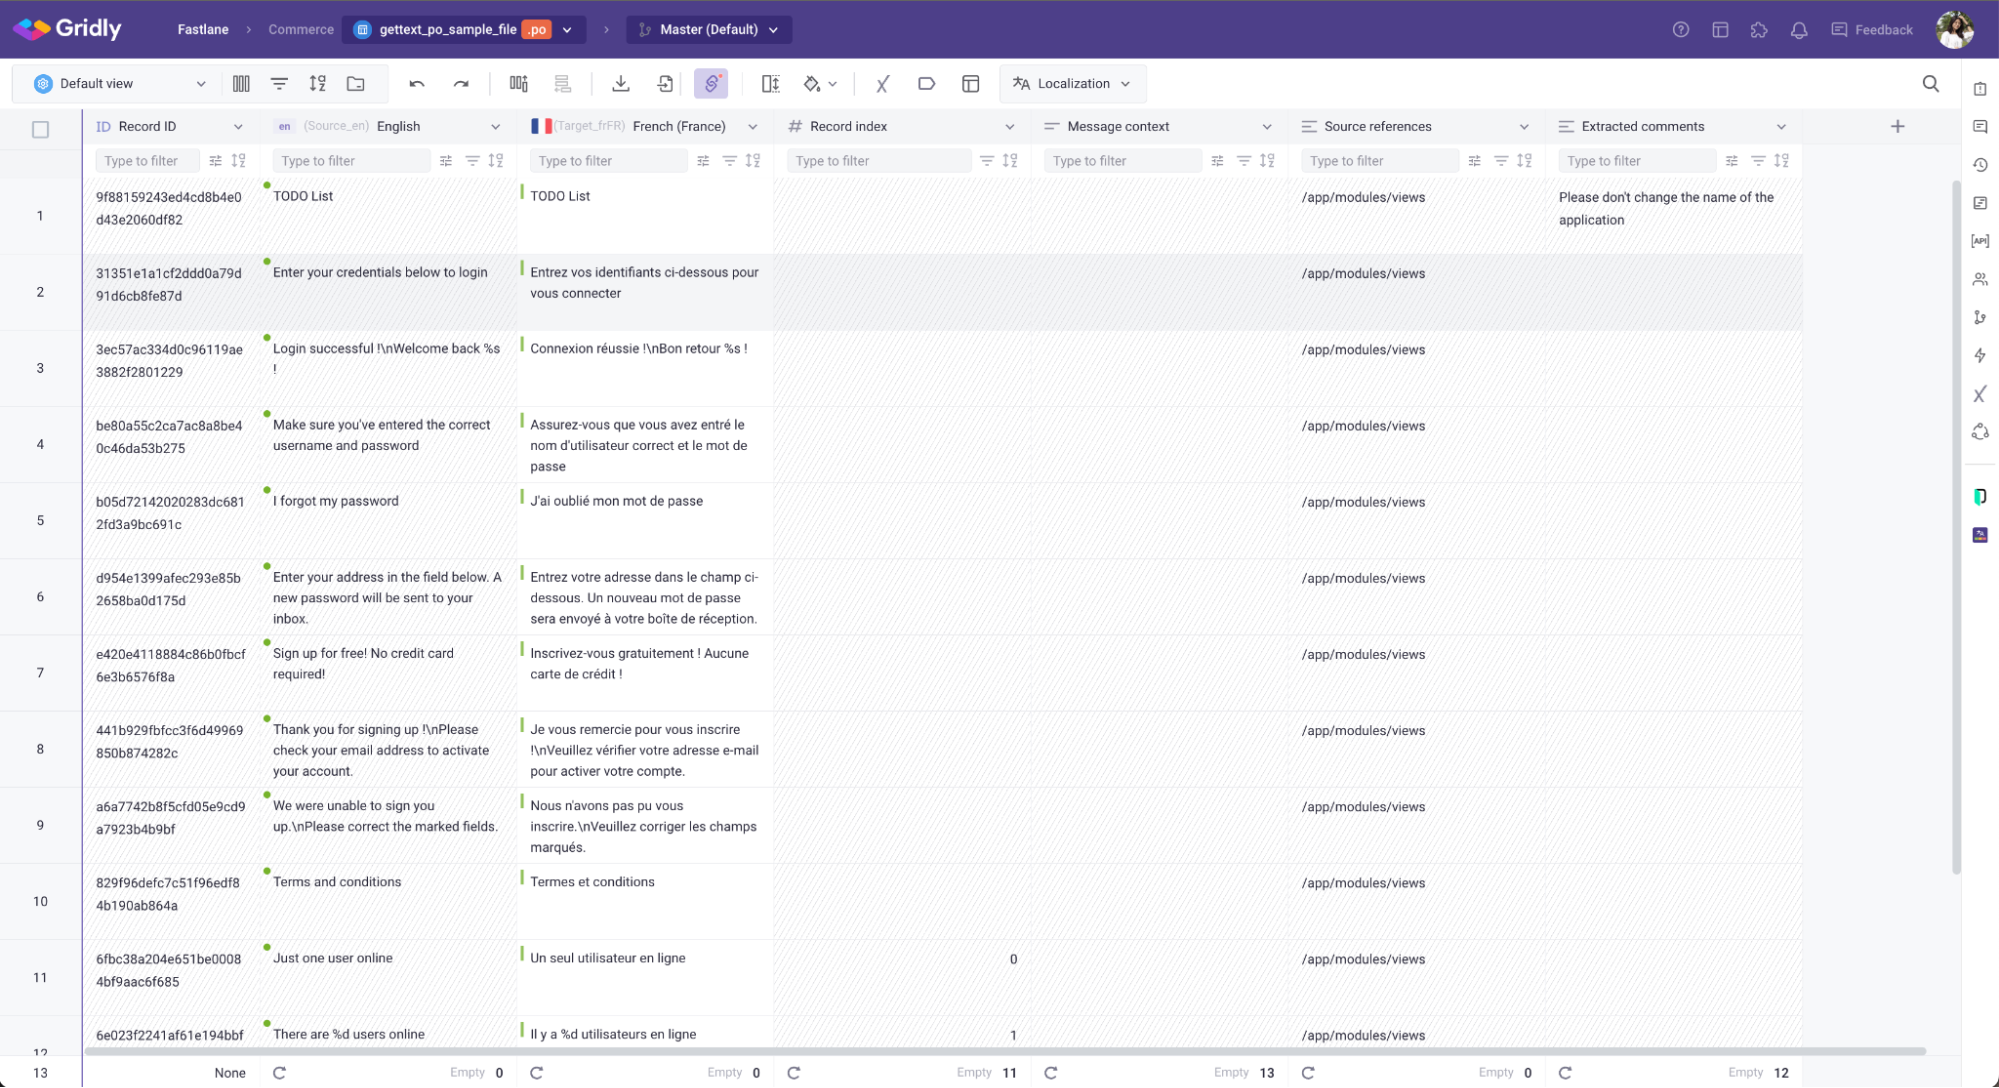
- Click Create.

Here’s the result:
TMS module
In the TMS module, you can create a Job by importing a PO file. If you are unfamiliar with the TMS module, refer to this getting started with TMS guide.
- Open the TMS module and go to the Category in which you want to create the Job.
- Inside a Category, click Upload file.

- Select the PO file you want to upload.
- Fill in Job details:
- Job name: Set as file name by default
- Description
- Assignee
- Due date
- Priority
- Target languages: Category's target languages will be selected by default
- Segmentation rule: Select a custom segmentation rule to determine how texts are segmented. If no custom segmentation rule is selected, original segmentation from the file will be used. Learn more in this document: Segmentation rules.
- PO - File import settings:
- Manage target text in file: Choose how you want to handle target text when importing PO file
- Import as target: Places the target text into your selected target language column
- Import as context: Adds the target text to the Translation Context column
- Do not import
- Manage target text in file: Choose how you want to handle target text when importing PO file

- Configure Job workflow: Select a workflow (inherit from Category settings). The selected workflow determines how many Tasks will be generated and the steps they will progress through from start to finish. You can uncheck a workflow step to exclude it from the workflow.
- Click Next to preview the Grid before importing.
- Click Complete.
- Wait for the process to finish. Click Manage job to see the newly created Job.
